
Tinley Park Epoxy Flooring installs epoxy garage floor systems in Tinley Park, IL, serving surrounding cities including Country Club Hills, Mokena, Matteson, Midlothian and Hazel Crest. With more than 20 years of floor coating work behind us, we treat a garage floor as a slab to be prepared and tested first and a color choice second.
Every garage we coat is diamond ground or shot blasted rather than acid etched, checked for moisture, and repaired where it is cracked or spalled. The written proposal then names the product line, the number of coats and the finished thickness, so you can hold the completed floor up against the quote and see that it matches.
The result is a floor that sheds brine and rock salt, resists hot tire pickup, and cleans with a squeegee and a mop. It also comes with a straight answer about what the warranty covers, because the exclusions matter as much as the color chart.
How Tinley Park Garage Slabs Were Built
The Village Garage Floor Spec
The village garage-floor specification calls for a 5-inch slab with wire mesh over 4 inches of stone, pitched toward the door or a drain. That pitch matters to a coating job, because meltwater has to keep running off the finished floor, so we never level a slope that was built in on purpose.
The same spec calls for air-entrained concrete at 6 percent air, plus or minus one, and allows a calcium chloride accelerator. Both affect how the surface grinds and how it takes a primer, so knowing how a slab was poured tells us what to expect before the first pass of the grinder.
No Vapor Retarder Under the Garage
Habitable-room slabs in the village get a polyethylene vapor retarder, but the garage spec names none, and the residential code exception in IRC R506.2.3 allows that. Ground moisture can therefore move up through most garage slabs, which is why a moisture test is written into every garage scope we price.
Attached and Detached Garages
Attached garages make up the larger share of local homes with a garage, with a sizable stock of detached two-car buildings behind the house. An attached garage shares a door with the living space, so we seal that opening and capture dust at the grinder; a detached one is usually unheated, which changes when the floor can be coated.
Preparing the Garage Floor Before Any Coating
Diamond Grinding to a Real Profile
We open the slab with a diamond grinder or shot blaster to a measured profile on the ICRI CSP scale. That rough, clean surface lets a 100% solids epoxy primer soak in and bond, where an acid etch leaves a shallow, uneven surface and residue that can weaken adhesion.
Grinding dust is pulled into a vacuum at the machine instead of being swept or rinsed out the door. That keeps fine concrete dust out of the house and away from the driveway, the floor drain and the storm inlet at the curb.
Mapping Cracks, Spalls and Old Coatings
Before we price the coating, we map hairline cracks, spalled control joints, salt pitting and any old paint or kit coating still on the floor. Each item is repaired or removed as its own line in the proposal, so you see what the slab needs rather than a lump sum.
When a slab has heaved, settled or broken into loose sections, we say so plainly. A coating cannot hold a moving slab together, and recommending a repair or replacement first costs less than redoing a peeled floor.
Moisture Testing the Garage Slab
We check the slab with a plastic sheet test under ASTM D4263 or a calcium chloride test under ASTM F1869, depending on its condition. Where a reading is high, a moisture-mitigation primer goes into the system before the base coat, and that decision is in the written scope before the price is final.
Building the Garage Coating System
100% Solids Epoxy Base Coats
The base of most garage systems we install is a 100% solids epoxy, which builds real film thickness in each coat rather than thinning out as solvent or water evaporates. That thickness is what carries a floor through years of tires, dropped tools and winter brine.
Flake Broadcast and Solid Color Finishes
Most homeowners choose a vinyl flake broadcast scattered into the wet base coat, which hides small slab flaws and adds grip underfoot. A solid color coating suits workshops and hobby garages where a clean, bright floor matters more than pattern, and both are sealed under a clear topcoat.
Polyaspartic and Polyurea Topcoats
A polyaspartic or polyurea topcoat goes over the base to resist abrasion, chemicals and the yellowing that sunlight causes through an open door. It also cures quickly, which shortens the time the garage is out of use.
Stopping Hot Tire Pickup
Hot tire pickup is what happens when a warm tire softens a thin coating and pulls it off the slab as it cools. A ground slab with a full-build base and a hard topcoat resists it, which is why one-coat paints and water-based kits are where most peeling garage floors start.
Garage Floors Through an Illinois Winter
Brine and Rock Salt on the Floor
Tires carry calcium chloride brine and rock salt into the garage from December through March. On bare concrete that meltwater soaks into the paste and freezes, popping the surface into flakes and pits; on a coated floor it stays on top, where it can be squeegeed out the door.
We build the system with enough film and a chemical-resistant topcoat to stand up to that brine, rather than a thin coat that lets chloride reach the concrete underneath. That choice is made in the proposal, not left to whatever product is on the truck.
Cure Schedules and Cold Slabs
Epoxy and polyaspartic coatings cure by chemical reaction, and a cold slab slows or stalls it, while moisture condensing on the surface causes amine blush. We read the slab temperature and the dew point spread at the surface before mixing, and we schedule the coats around those readings rather than the calendar.
An attached garage that holds its temperature can often be coated in winter. An unheated detached garage in deep winter is told to wait for a warmer stretch, because a floor that never fully cures will fail no matter how well it was ground.
What the Warranty Leaves Out
Most coating warranties exclude moisture vapor coming up through the slab, impact damage and cracks that open after installation. The village’s own contractor guarantee lists surface flaking caused by de-icing salts among its exclusions, and we explain all of these before the job is sold so nothing comes as a surprise.
Our Step-by-Step Epoxy Garage Floor Process
Step 1: Slab Check and Written Scope
We inspect the floor, map cracks and coatings, run the moisture test and write a proposal naming the product line, coats and finished thickness. Home jobs over the state threshold get a written contract and the Illinois consumer-rights pamphlet before any work begins.
Step 2: Grinding and Repair
The slab is diamond ground with dust captured at the machine, and cracks, spalls and joints are filled and ground flush. Old coatings come off in this step.
Step 3: Primer and Base Coat
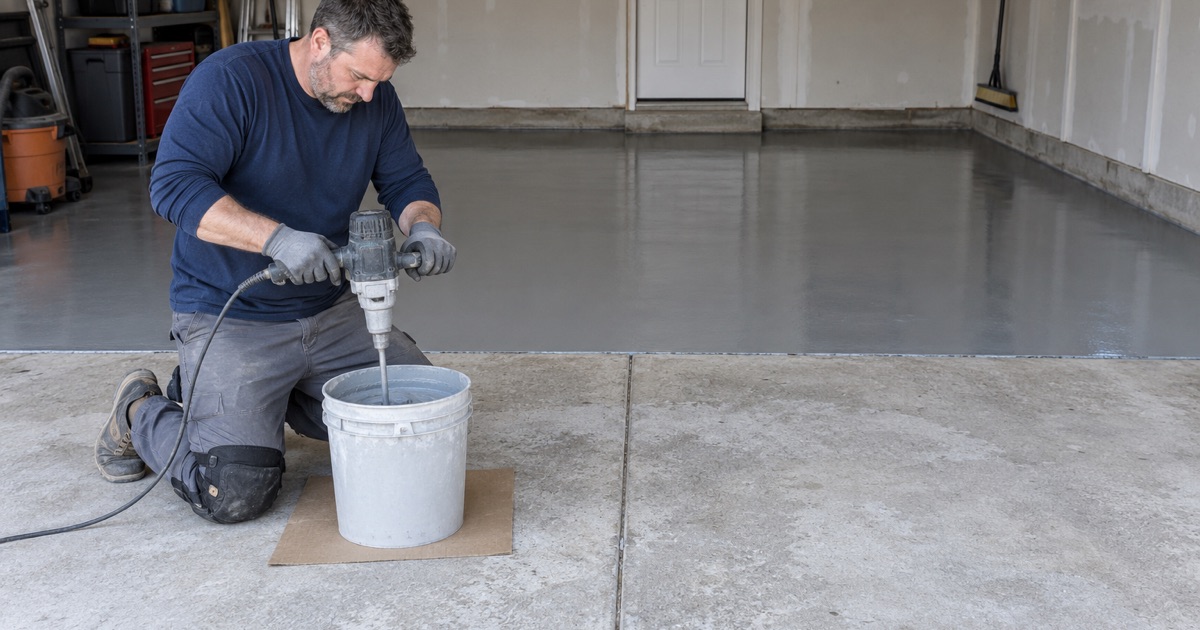
The primer and 100% solids base coat go down once slab temperature and dew point allow. If you chose a flake finish, the chips are broadcast into the wet base at the coverage named in the scope.
Step 4: Topcoat and Cure
Excess flake is scraped and vacuumed, and the polyaspartic or polyurea topcoat seals the floor. We leave you a written schedule for foot traffic and parking based on the products and the slab temperature.
- 20+ Years Coating Floors
- Moisture Test in Every Scope
- Free Written Estimates